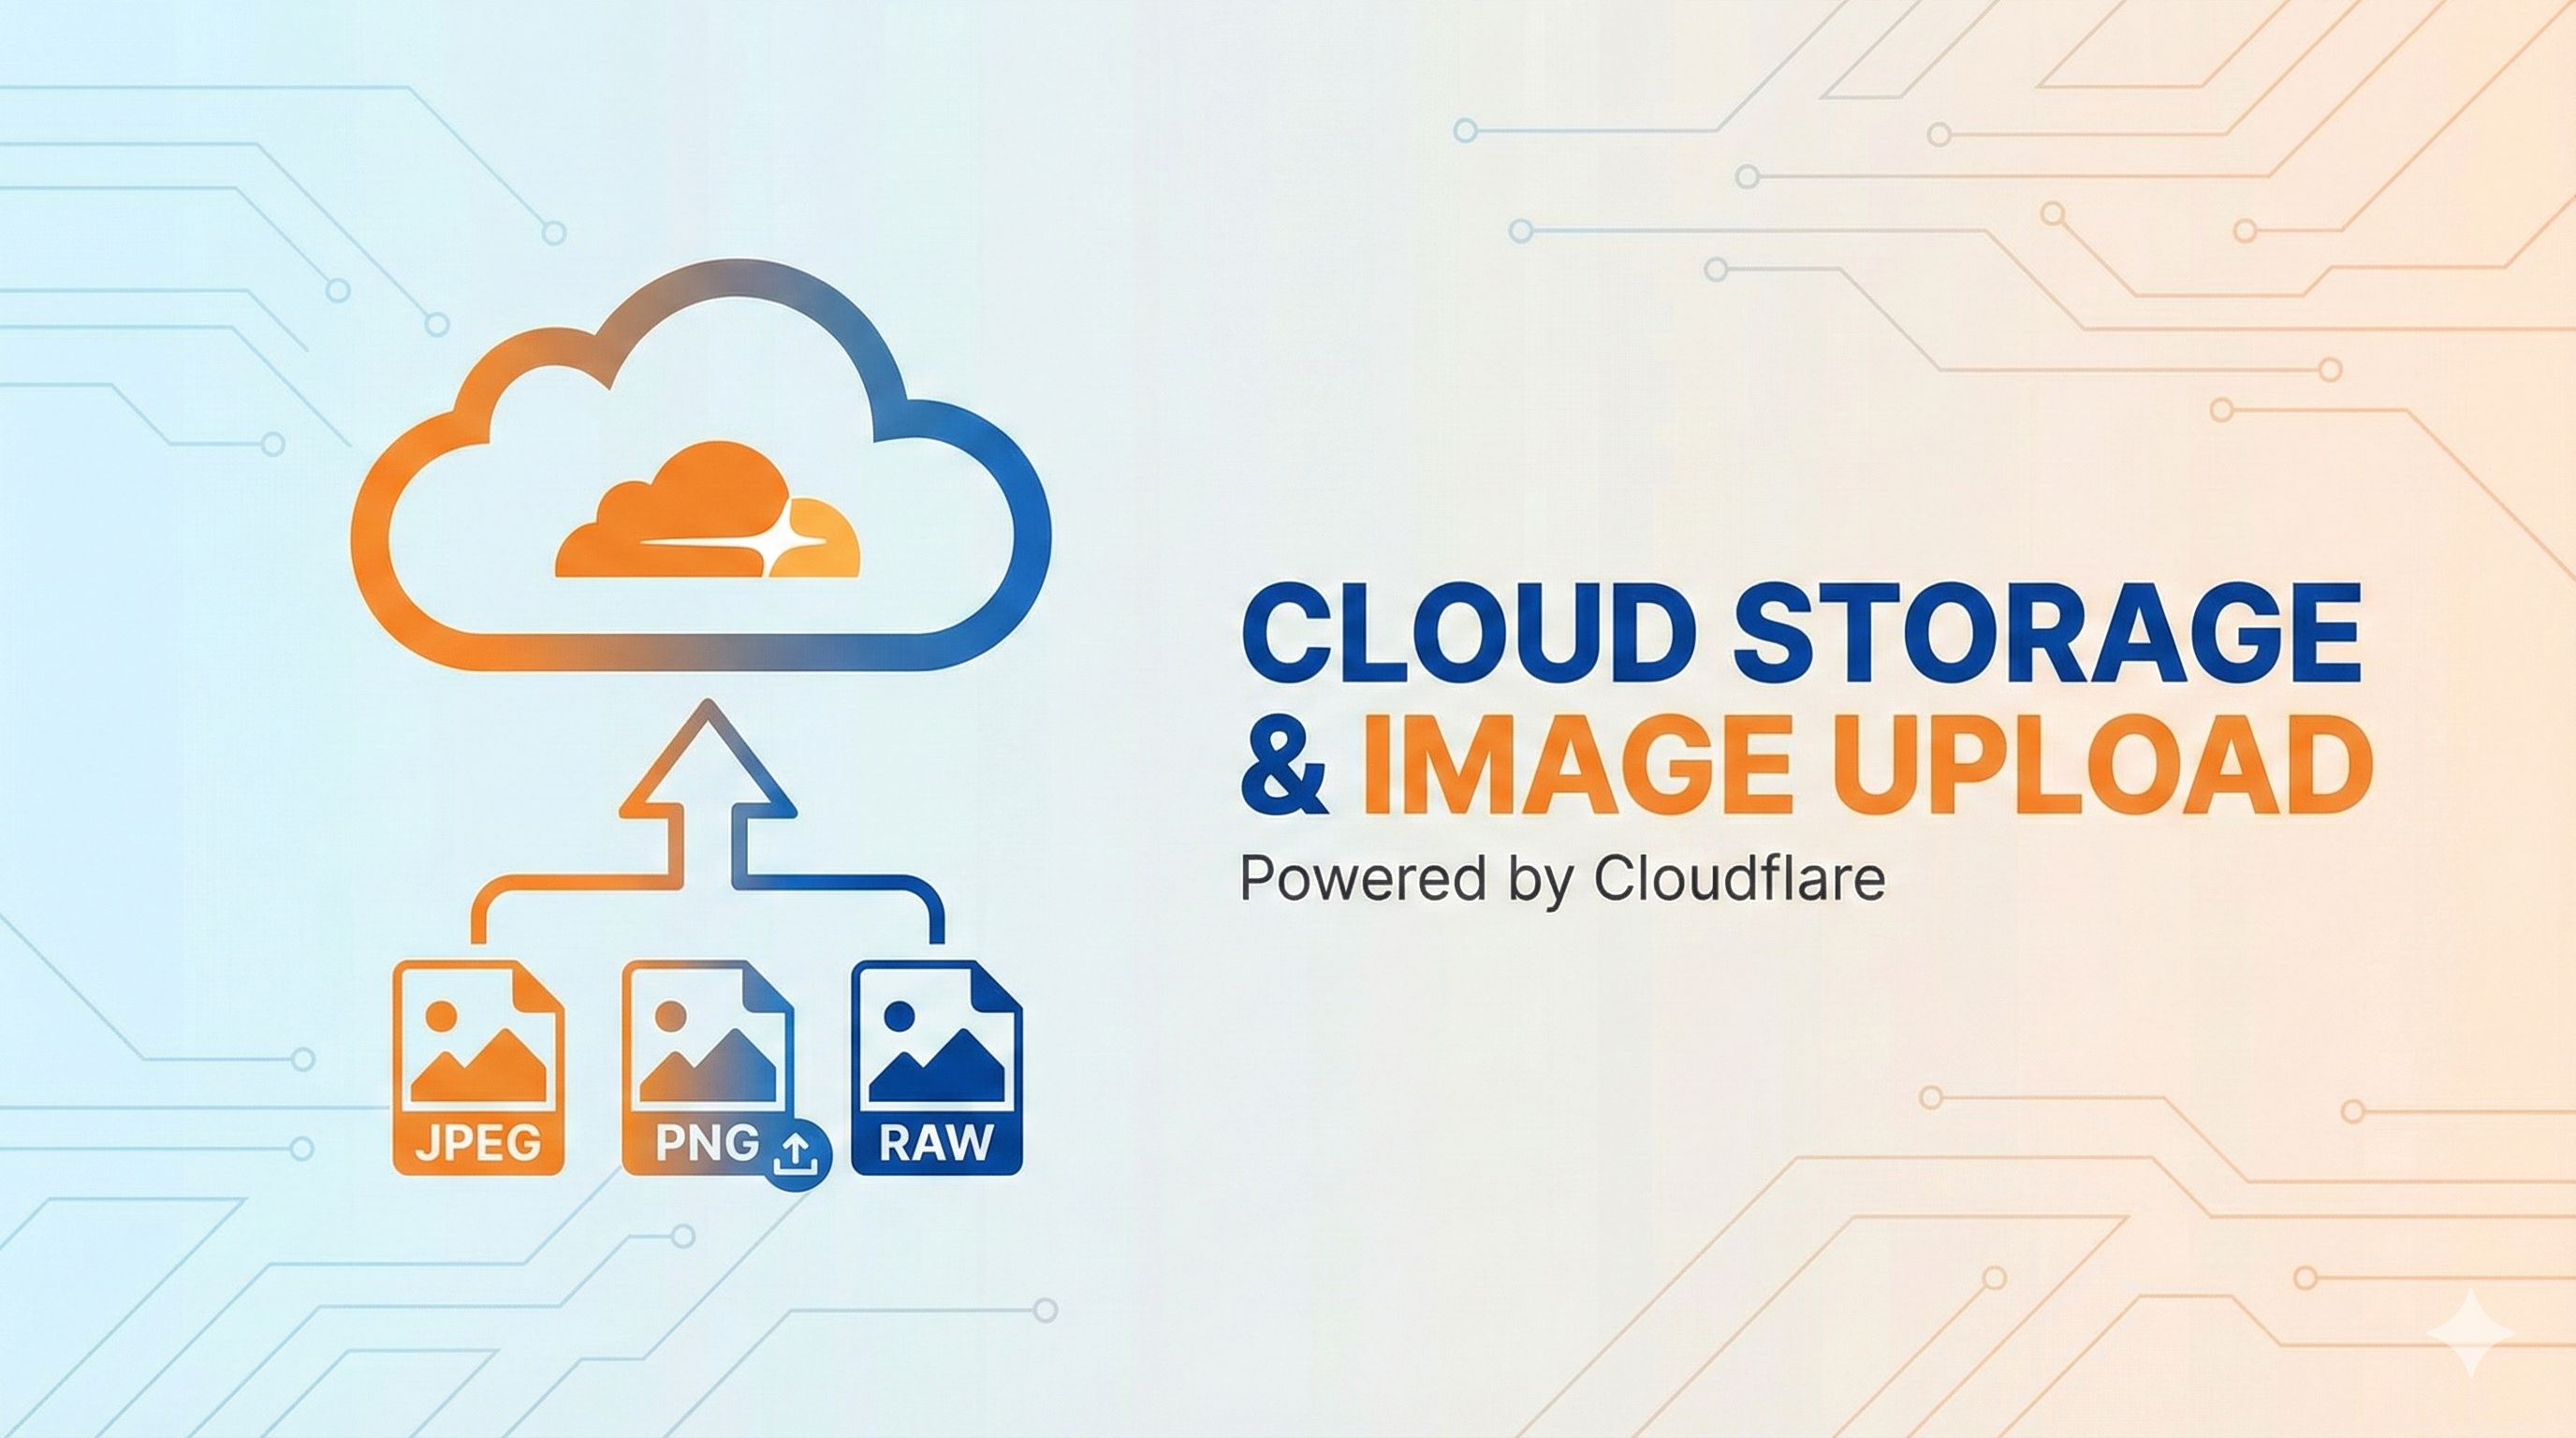
DIY free image hosting: A stable setup using Cloudflare R2 + PicGo
Introduction
Honestly, image hosting has been a headache for me over the past two years.
I remember back in 2023, I was hosting all my blog images on GitHub with jsDelivr CDN, and it worked pretty well. Then one day, I suddenly noticed all the images in my blog had turned into broken links - jsDelivr was blocked in China. Seeing dozens of articles with nothing but blank spaces, my heart sank.
Later, I tried several free image hosting services - some deleted images for no reason, others just shut down completely. While services like Qiniu Cloud and Alibaba Cloud OSS are stable, they require domain registration in China and have overage fees. To be honest, I really didn’t want to go through the pain of migrating image hosting again.
Until I discovered Cloudflare R2.
This object storage service offers 10GB of free space, 1 million uploads per month, 10 million reads, and most importantly - completely free egress traffic. After using it for half a year, I haven’t spent a cent, and the access speed is quite decent. Combined with PicGo for one-click uploads, the experience has been really smooth.
But honestly, when I first configured R2, I ran into quite a few issues. Especially with public access settings and PicGo’s S3 plugin configuration - online tutorials were inconsistent, parameter names varied, and it took several attempts to get it right.
So in this article, I’ll walk you through the entire setup process step by step:
- Why R2 is currently the best free image hosting solution
- How to properly configure R2 public access (avoiding common pitfalls)
- How to connect PicGo to R2 (foolproof configuration for first-time success)
If you’re also struggling with image hosting issues, follow this guide and you’ll be done in 30 minutes.
Why Choose R2 for Image Hosting?
Before deciding on R2, I actually compared quite a few options. Let me first discuss the current state of various free image hosting services, and you’ll understand why I ultimately chose R2.
Problems with Other Free Image Hosting Solutions
GitHub + jsDelivr: This used to be the best solution, but it no longer works. jsDelivr was DNS-poisoned and blocked in China, making blog images completely inaccessible. And honestly, using GitHub for image storage was always a form of abuse - each image upload generates a commit, polluting the commit history, and if your account gets banned one day, all your images are gone.
Free Public Image Hosting (like SM.MS, Luo Guo Image Hosting, etc.): The problem with these services is instability. Some mysteriously delete user images, others just shut down. I’ve seen too many bloggers whose carefully written articles turned into broken images because the image hosting shut down. While free services are tempting, would you really trust them with all your blog’s image resources?
Domestic Cloud Service Providers (Qiniu Cloud, Alibaba Cloud OSS, Tencent Cloud COS): These services are indeed stable, and Qiniu Cloud also offers 10GB of free quota. But the key issue is: domestic cloud services all require domain registration. For personal blogs, the registration process is cumbersome, plus there’s the risk of overage fees. While the cost isn’t high (about a few yuan per month after exceeding 10GB), it still feels unsettling.
Core Advantages of R2
By comparison, Cloudflare R2 is truly the optimal solution for personal image hosting. Having used it for half a year, I’ve identified these core advantages:
1. More Than Enough Free Quota
R2’s free quota includes:
- Storage space: 10 GB
- Monthly uploads: 1 million times (Class A operations)
- Monthly reads: 10 million times (Class B operations)
For personal blogs, this quota is more than enough. My own blog has over 100 articles, about 500 images, taking up less than 2GB total. At this rate, 10GB could last several years. And even if you do exceed it, the fees are very cheap: storage costs $0.015/GB/month, which translates to about 0.1 RMB per GB per month.
2. Completely Free Egress Traffic
This is R2’s biggest advantage over AWS S3. Traditional cloud storage (like S3, Alibaba Cloud OSS) charges for egress traffic, ranging from a few cents to a few yuan per GB. If your blog has high traffic, these fees might exceed storage costs.
R2’s egress traffic is completely free. No matter how many times your images are accessed or downloaded, there are no additional fees. This is because Cloudflare leverages its global CDN network (100+ countries, 275 cities) to distribute content, with traffic flowing through internal networks at no extra charge.
3. Backed by a Major Company, Stable and Reliable
Cloudflare is one of the world’s largest CDN service providers, worth tens of billions of dollars. Using their service means you don’t have to worry about sudden shutdowns or image deletions. Plus, Cloudflare has always had a reputation as a “cyber philanthropist,” with many services being particularly friendly to individual users.
4. Compatible with S3 API, Future Migration Possible
R2 is fully compatible with the AWS S3 API standard. This means if you want to migrate to other services supporting S3 protocol (like MinIO, Alibaba Cloud OSS) in the future, you just need to change the configuration without rewriting code or tools. This flexibility means you don’t have to worry about vendor lock-in.
5. No Registration Required, Ready to Use Out of the Box
R2 is an international service, so binding your own domain doesn’t require registration. Register a Cloudflare account, activate R2, complete configuration - the whole process takes 30 minutes. This is incredibly friendly for personal bloggers.
A Small Reminder
The only thing to note about R2 is that activating the service requires binding a credit card or PayPal. This is just for identity verification and won’t automatically charge you. I hesitated at first too, but after binding, I confirmed it was just verification - I’ve used it for half a year without incurring a single cent in charges. If you’re still worried, you can use a virtual credit card or bind domestic PayPal (which is supported).
Alright, having covered all these advantages, let’s officially start the setup.
Detailed Steps for R2 Image Hosting Setup
Okay, now let’s get into the practical part. I’ll explain each step clearly - just follow along.
Step 1: Register and Activate R2 Service
First, you need a Cloudflare account. If you don’t have one yet, go to the Cloudflare website and register for free - just enter an email and password, very simple.
After registering and logging in, find “R2 Object Storage” in the left sidebar and click in. If it’s your first time using it, you’ll be prompted to activate the service.
Here’s the key: Activating R2 requires binding a payment method (credit card or PayPal).
Let me specifically address this - many people back out at this step, and I hesitated too. But it’s really just for identity verification and won’t automatically charge you. Cloudflare’s free quota is truly free; you’ll only be charged if you actively exceed the quota and confirm payment.
You can bind:
- Foreign currency-supporting credit cards (Visa, MasterCard both work)
- PayPal (domestic PayPal is also supported)
- Virtual credit cards (if you’re concerned about security, you can use this)
After binding, click “Activate R2 Service” - it’ll be done in seconds.
Step 2: Create a Storage Bucket
After activating R2, click the “Create Bucket” button in the upper right corner.
Bucket Name: Choose a distinctive name, like blog-images, my-pics, etc. Note that this name is globally unique, so if there’s a duplicate, you’ll need to choose another.
Location Selection: Here’s a little trick.
Many tutorials blindly recommend choosing “Asia Pacific (APAC)” because it’s close to China and supposedly fast. But that’s not necessarily true. I tried both locations and found:
- Asia Pacific: Domestic access is indeed slightly faster, but international access is limited
- Western North America (WNAM): Combined with Cloudflare’s CDN, global access speed is more balanced, and domestic speed is acceptable
I personally chose Western North America because my blog might have international readers, offering a better overall experience. You can choose based on your audience situation.
Storage Class: Select “Standard” and you’re good.
Then click “Create” - the bucket will be ready in a few seconds.
Step 3: Configure Public Access (Critical Step)
After creating the bucket, enter the bucket settings page. This next step is critical and where many people get stuck.
R2 is private by default. To make images publicly accessible, there are two methods:
Method 1: Enable r2.dev Subdomain (Suitable for Testing)
This is the simplest method, suitable for initial testing.
- On the bucket settings page, scroll down to find “R2.dev subdomain”
- Click “Allow Access”
- In the confirmation pop-up, enter
allowand click confirm
After completion, Cloudflare will generate a public access URL, similar to:
https://pub-xxxxx.r2.devBut! Here’s an important pitfall: The r2.dev subdomain has access rate limits and is only suitable for development testing. If your blog has significant traffic, it’s easy to trigger the limit, causing images to fail loading. Cloudflare officially states that production environments must use custom domains.
When I first configured it, I didn’t pay attention to this. When my blog traffic increased slightly, images failed to load. I later switched to a custom domain - learned that lesson the hard way.
Method 2: Bind Custom Domain (Production Recommended)
If you have your own domain, I highly recommend this method. Not only does it have no rate limits, but you can also configure caching, hotlink protection, and other advanced features.
Prerequisites: Your domain is already hosted on Cloudflare (meaning you’ve changed your domain’s DNS servers to Cloudflare’s). If not yet hosted, go to the Cloudflare console to add your domain and follow prompts to modify DNS servers - it’s free.
Configuration steps:
- On the bucket settings page, find “Custom Domains”
- Click “Add”
- Enter the subdomain you want to use, like
img.yourdomain.com - Click “Continue”
- Cloudflare will automatically add a CNAME record to your DNS records
- Click “Connect Domain”
Wait a few minutes for DNS to propagate, and your custom domain will be ready. Future image URLs will be:
https://img.yourdomain.com/path/to/image.pngI use a custom domain myself, combined with the caching strategy I’ll discuss later - both stable and fast.
Step 4: Create API Token
After configuring public access, you still need to generate an API key so PicGo can connect to R2 and upload images.
- Return to R2’s “Overview” page
- Click “Manage R2 API Tokens” in the upper right corner
- Click “Create API Token”
- Give the token a name, like
PicGo-Upload - For permissions, select “Object Read & Write”
- Click “Create API Token”
Super important! After creation, Cloudflare will display three pieces of information:
- Access Key ID
- Secret Access Key
- S3 API Endpoint (similar to
https://xxxxx.r2.cloudflarestorage.com)
These three pieces of information will only be displayed once! Once you close the page, you’ll never see them again. Make sure to immediately copy and save them somewhere secure, like a password manager or local encrypted file.
If you accidentally close it, you can only delete the token and create a new one. I was careless and closed it the first time, having to recreate it - don’t make my mistake.
Pro tip: The S3 API endpoint can also be found in “Overview” → “Use R2 via S3 API” - it’s the HTTPS URL.
Alright, R2 configuration is complete. Now let’s configure PicGo.
PicGo Configuration Practice
PicGo is an open-source image upload tool supporting various image hosting services. Once configured, you can drag and drop images to upload and automatically generate Markdown format image links - super convenient.
Step 1: Install PicGo and S3 Plugin
Download PicGo
Go to the PicGo website or GitHub Release page to download the installer for your system:
- Windows: Download the
.exefile - macOS: Download the
.dmgfile - Linux: Download the
.AppImagefile
Installation is simple - just follow the prompts.
Advanced Recommendation: PicList
If you want more features, I recommend PicGo’s forked project PicList. It adds these features on top of PicGo:
- Image management features (view, delete uploaded images)
- Image compression (lossy/lossless)
- Format conversion (convert to WebP, etc.)
- Add watermarks
I’m currently using PicList myself - more comprehensive features. Installation is the same as PicGo.
Install S3 Plugin
PicGo doesn’t support S3 protocol by default and needs a plugin.
- Open PicGo, click “Plugin Settings” on the left
- Enter
s3in the search box - You’ll see several plugins, recommend installing
picgo-plugin-s3ors3-lls(either works, similar functionality) - Click “Install” and wait for completion
Note: Plugin installation requires Node.js environment. If installation fails, it might be because:
- Network issues (plugin downloads from GitHub, might be slow in China)
- No Node.js environment (go to Node.js website to download and install)
- Permission issues (Windows users might need administrator privileges)
If you really can’t install it, try offline installation or switch network environments (like using a VPN).
Step 2: Configure S3 Image Hosting Parameters
After installing the plugin, click “Image Hosting Settings” on the left, find “Amazon S3” (or “AWS S3”), and click to configure.
This part is critical - each parameter must be filled correctly. Let me explain one by one.
Access Key ID Fill in the “Access Key ID” you saved when creating the API token in R2.
Secret Access Key Fill in the “Secret Access Key”.
Be careful not to mix these up - the ID is a relatively short string, the key is a longer string.
Bucket Name Fill in the bucket name you created in R2, like blog-images.
Note it’s the bucket name, not ARN, not URL - just the name you chose when creating it.
Upload Path This determines how uploaded images are organized in the bucket. Here are some recommended formats:
{year}/{month}/{md5}.{extName}- Organized by year/month, filename uses MD5 to avoid duplicatesPicGo/{fullName}- All in PicGo folder, keeping original filenames{year}/{month}/{fullName}- Organized by year/month, keeping original filenames
I personally use the first one - avoids filename duplicates and makes management by time convenient.
Important reminder: Don’t add / at the beginning of the path! Just write {year}/{month}/.... Adding / might cause upload failures or path errors.
Endpoint Fill in the “S3 API Endpoint” you saved earlier, that https://xxxxx.r2.cloudflarestorage.com format URL.
Make sure to include https://, don’t miss it.
Custom Domain Fill in your configured public access domain. Based on your earlier choice:
- If using custom domain: Fill in
https://img.yourdomain.com - If using r2.dev: Fill in your Public Bucket URL (visible in R2 bucket settings, similar to
https://pub-xxxxx.r2.dev)
This domain determines the final generated image link, so make sure it’s correct.
Other Parameters
- Region: Fill in anything, like
autoorus-east-1, R2 doesn’t check this parameter - Upload Method: Select “Path Style”
Step 3: Test Upload
After configuration, don’t rush to use it. Test first to make sure everything’s working.
- Click “OK” to save configuration
- Check “Set as default image hosting” (so future uploads will automatically use R2)
- Click “Upload Area” on the left
- Drag in a test image or click “Select Image” to upload
If configured correctly, you’ll see an upload success notification in a few seconds, and the image link will be automatically copied to your clipboard.
Check the link: Paste the link into a browser and see if the image displays normally. If you can see the image, congratulations - configuration successful!
Common Errors and Solutions
If upload fails, check these points:
Access Denied or 403 Error
- Check if API keys are filled correctly (don’t mix them up)
- Check if API token permissions include “Object Read & Write”
- Check if bucket name is correct
Image Uploads Successfully but Can’t Access
- Check if public access is enabled (r2.dev or custom domain)
- Check if custom domain is filled correctly (must include
https://) - Wait a few minutes, DNS might not have propagated yet
Upload Speed Very Slow or Timeout
- Network issue, R2 is abroad, upload might be a bit slow
- Image too large, try compressing first (PicList has built-in compression)
File Path Error or Strange Directories Appear
- Check if file path starts with
/, remove it - Check if path format is correct
- Check if file path starts with
My first configuration, I mixed up the key ID and key, took me ages to figure out. If you encounter problems, carefully check each parameter - most issues are from incorrect configuration.
Optimization and Advanced Techniques
At this point, basic image hosting functionality is ready. But if you want to make it more stable, faster, and worry-free, there are several optimization techniques worth knowing.
Set Caching Strategy (Highly Recommended)
If you’re using a custom domain, definitely set up caching rules. This has three benefits:
- Reduce R2 request count, avoid exceeding free quota
- Speed up image loading (return directly from CDN cache)
- Prevent malicious traffic abuse
How to set it up:
- Enter Cloudflare console, select your domain
- Click “Rules” → “Page Rules” or “Cache Rules” on the left
- Create new rule, match URL:
img.yourdomain.com/*(replace with your domain) - Settings:
- Cache Level: Cache Everything
- Edge Cache TTL: 1 month to 1 year (recommend 6 months)
- Browser Cache TTL: 1 month
After setting up, images will be read from R2 on first access, then returned from Cloudflare’s CDN cache thereafter, barely consuming R2’s read quota.
I set mine to 6-month caching, and after all this time, actual R2 requests are only a few thousand, well within the free quota.
China Access Acceleration (Optional)
Cloudflare’s CDN speed in China is a bit hit-or-miss. Some regions are okay, others might be slower. If your blog mainly targets Chinese users, consider these acceleration solutions:
Solution 1: Tencent Cloud EdgeOne Tencent Cloud’s overseas CDN, free and no registration required, can be used to accelerate R2.
- Pros: Fast China access, sufficient free quota
- Cons: Need to register separate Tencent Cloud account, slightly complex configuration
Solution 2: WebP Cloud A service specializing in image proxy and optimization, can automatically convert images to WebP format and cache.
- Pros: Automatic image compression, saves traffic
- Cons: Request count limits, exceeding requires payment
Solution 3: Domestic/International Split Routing Use rclone to sync R2 images to domestic cloud (like Tencent Cloud COS), Chinese users access domestic image hosting, international users access R2.
- Pros: Fast both domestically and internationally
- Cons: Requires technical capability, high maintenance cost
Honestly, I use the simplest method: custom domain + caching rules. While not the fastest, China loading speed is acceptable (1-3 seconds), sufficient for personal blogs. If you have particularly high speed requirements, then consider acceleration solutions.
Security and Protection
After setting up the image hosting, you need to prevent abuse.
Disable r2.dev Access If you’ve already configured a custom domain, remember to close r2.dev public access. Otherwise, others can bypass your hotlink protection and other rules through the r2.dev domain.
Operation: Enter bucket settings → R2.dev subdomain → Disallow Access, enter disallow to confirm.
Hotlink Protection Use Cloudflare’s WAF (Web Application Firewall) to restrict image references to only your website.
Simple setup:
- Cloudflare console → Security → WAF
- Create custom rule
- Condition: Referer doesn’t contain
yourblog.com - Action: Block or Challenge
This way others can’t hotlink your image links on their own websites.
Monitor Usage Regularly check R2 usage to prevent overages.
In R2 console you can see:
- Storage space usage
- Monthly request count (Class A, Class B)
If you notice abnormal usage growth, check promptly to see if someone’s abusing your traffic.
Conclusion
Alright, that completes the entire R2 image hosting setup.
Let’s review what we did:
- Registered and activated Cloudflare R2, gained 10GB free storage space
- Created bucket, configured public access (custom domain or r2.dev)
- Generated API token for PicGo connection
- Installed and configured PicGo for one-click image upload
- Set up caching and security strategies to make image hosting more stable
From now on, you never have to worry about image hosting deletions, shutdowns, or fees. Each time you write a blog, just drag images into PicGo, automatically upload and generate links, copy into Markdown - the whole process flows smoothly.
Honestly, setting up R2 image hosting was one of the best decisions I’ve made in the past two years. Though initial configuration took some time (mainly from pitfalls), using it afterward has been truly worry-free. It’s now been running stably for over half a year, storing 500+ images, cost me zero, and haven’t encountered any failures.
If you’re also struggling with image hosting issues, I really recommend trying R2. Follow the steps in this article and you’ll be done in 30 minutes. If you encounter problems, don’t panic - most are from incorrect configuration parameters, just carefully check again.
One final reminder: After configuration, remember to save your API keys. If you ever need to reconfigure or switch computers, just use your previous keys without regenerating.
Alright, go ahead and build your own free image hosting! If you have questions, feel free to discuss in the comments - I’ll reply when I see them.
Published on: Nov 30, 2025 · Modified on: Dec 4, 2025
Related Posts

Complete Guide to Deploying Astro on Cloudflare: SSR Configuration + 3x Speed Boost for China
Building an Astro Blog from Scratch: Complete Guide from Homepage to Deployment in 1 Hour