5 Best Astro Blog Themes with Detailed Installation Guide
Introduction
To be honest, when I first wanted to build a blog, I was pretty overwhelmed. Building a theme from scratch? Way too time-consuming - just designing the pages could eat up several weekends. Looking for ready-made themes online? There’s a ton of them, making it hard to choose. Even worse, when I finally downloaded one, the configuration docs were confusing and I couldn’t get it running after hours of tinkering.
Eventually, I decided to buckle down and spent two weeks testing over a dozen Astro blog themes. Some looked flashy but were bloated, others were too bare-bones without basic features, and some were just a nightmare to configure. But it wasn’t time wasted - I narrowed it down to 5 truly useful themes, each one I’ve personally used, and I’ll help you avoid the pitfalls I encountered.
This article will walk you through the characteristics of these 5 themes, who they’re suitable for, and detailed installation and configuration steps. Follow along and you can have your own blog up and running in 30 minutes - way easier than what I went through.
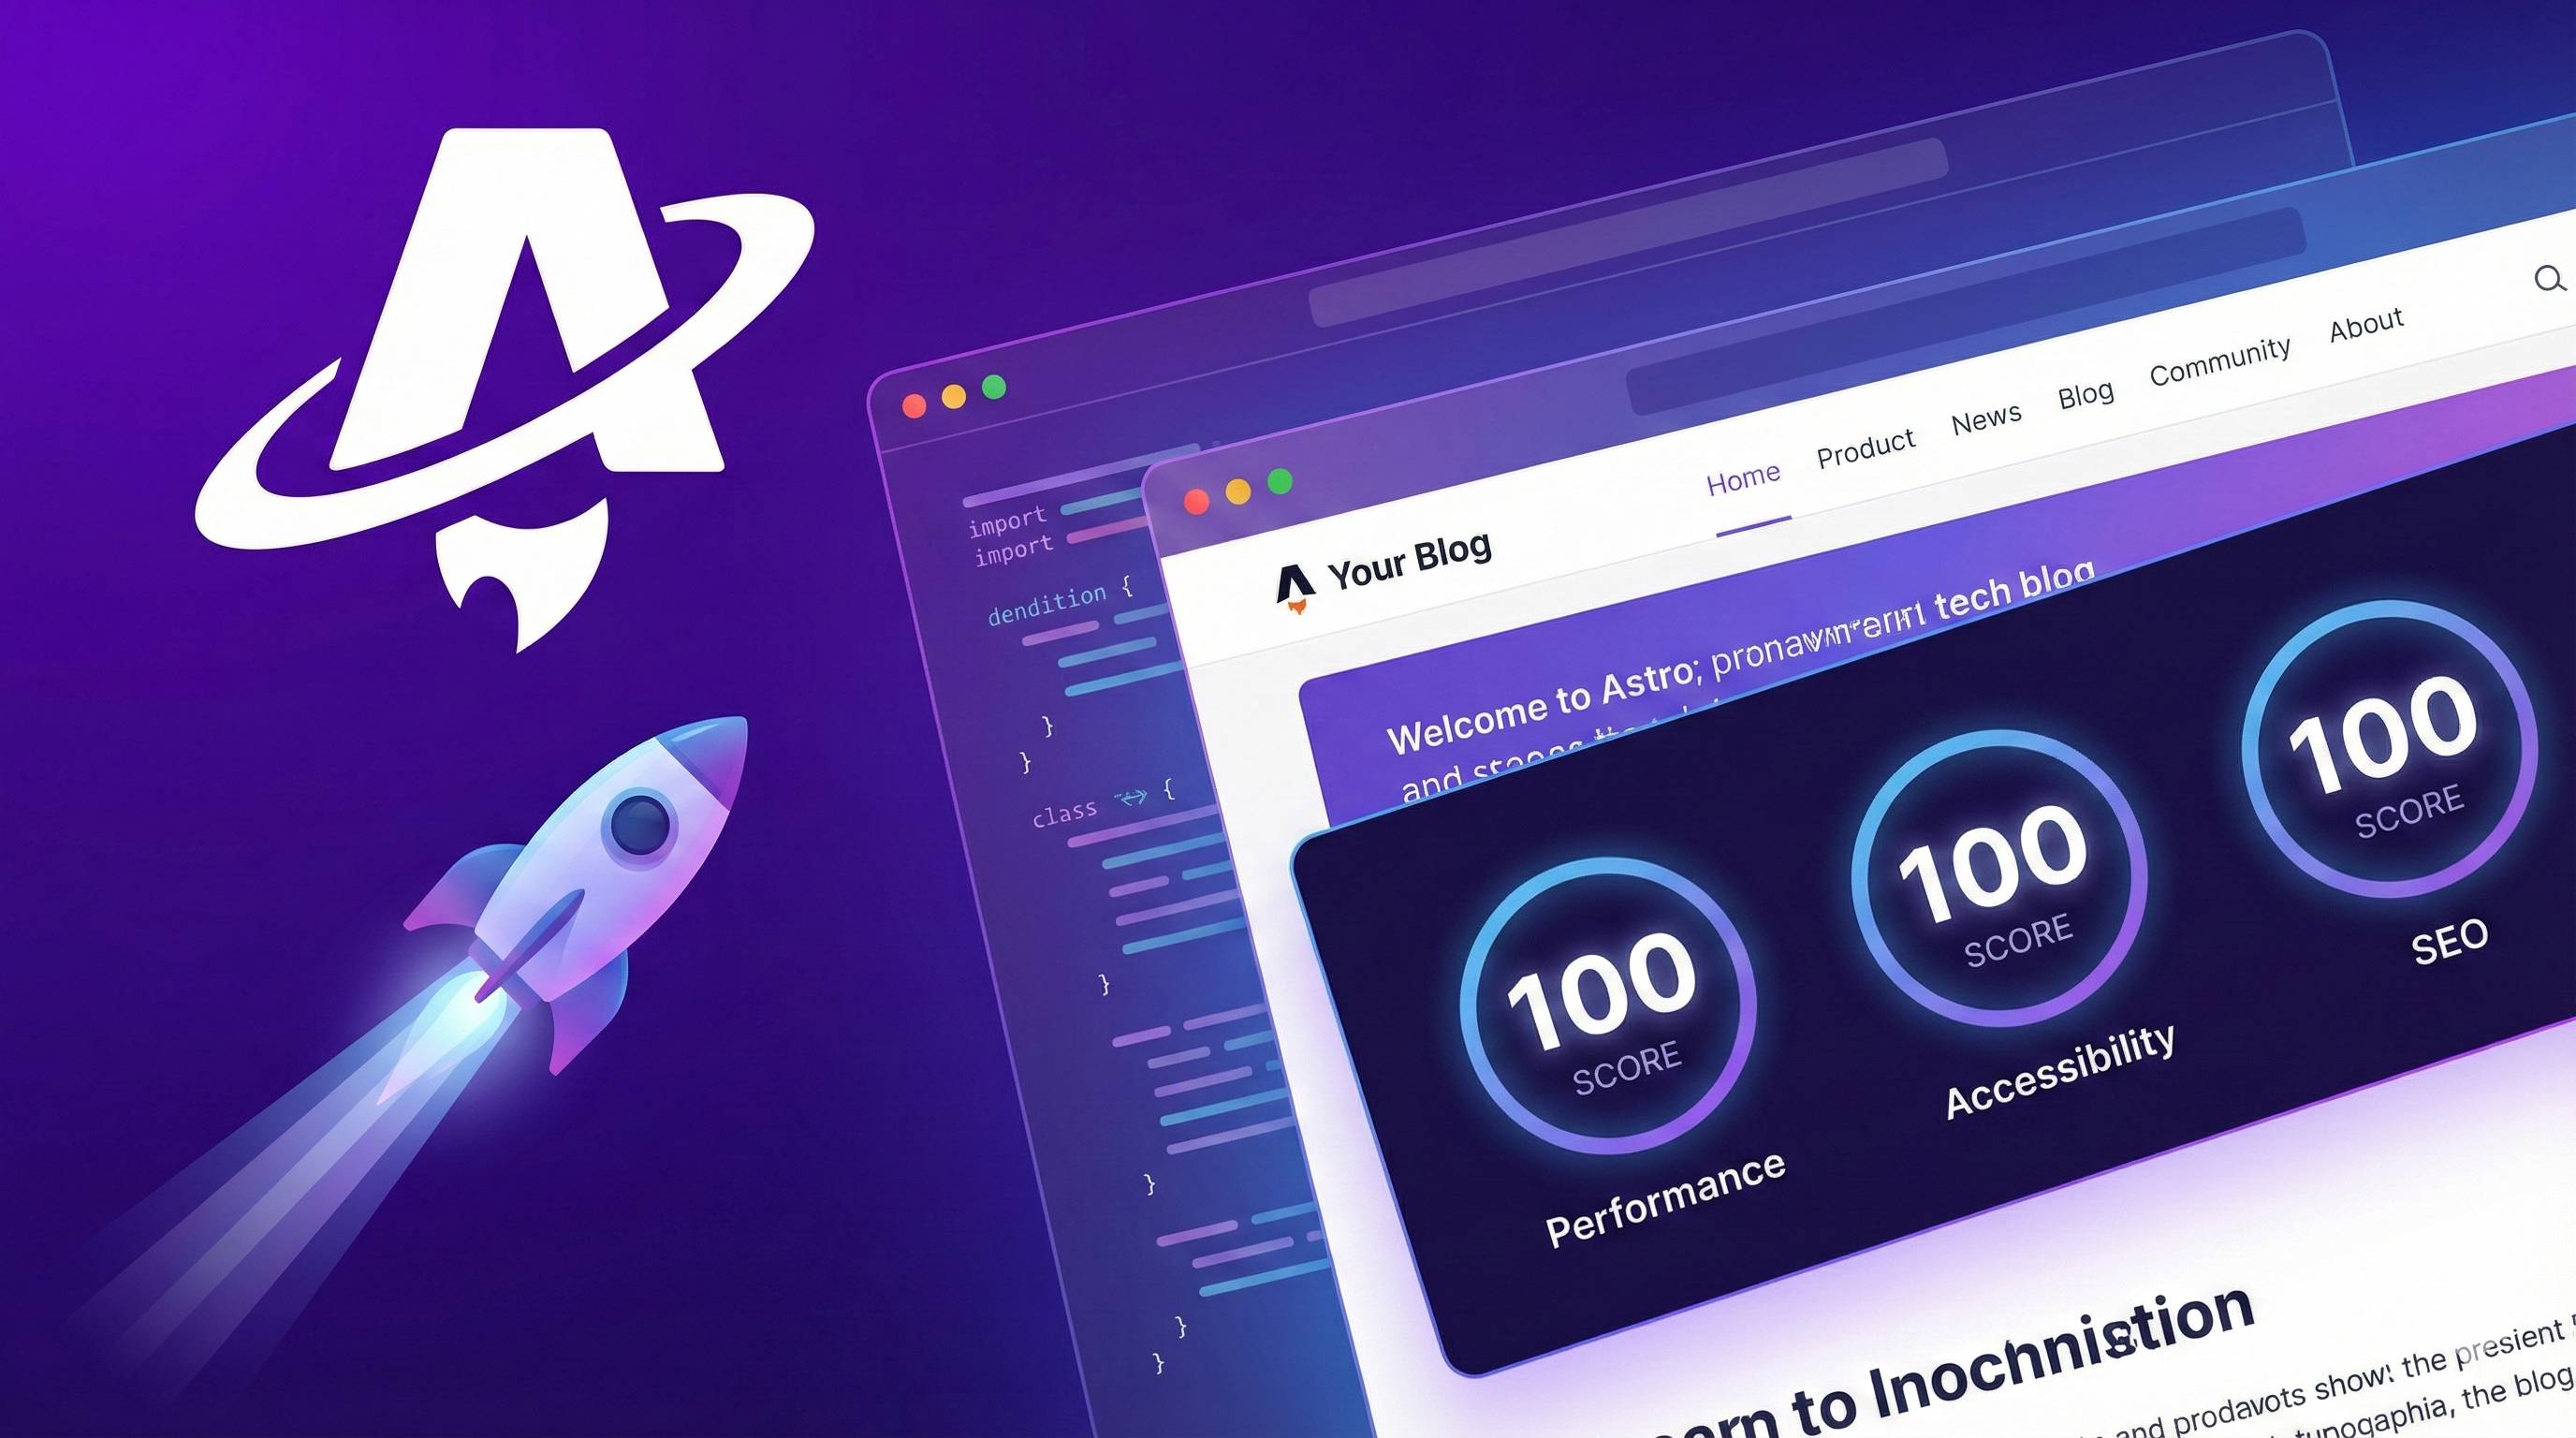
Why Choose Astro for Blogging?
Before diving into specific themes, you might ask: Why use Astro? Can’t I use Next.js or Gatsby?
The biggest advantage of Astro is speed. It generates static pages by default and doesn’t load your site with a bunch of JS code like other frameworks do. The result? Your blog loads blazingly fast, easily scoring 90+ on PageSpeed. It’s super SEO-friendly too - search engine crawlers love this clean page structure.
Plus, the developer experience is genuinely great. You can use React, Vue, Svelte, or any framework to write components, or just write articles directly in Markdown/MDX. Features like type safety, automatic RSS generation, and sitemaps are built-in out of the box, saving you a lot of hassle.
By the way, Astro’s community is quite active now, with 375+ themes available in the official theme library, and new themes published weekly. This beats some niche frameworks hands down - you can basically find solutions to any problem you encounter.
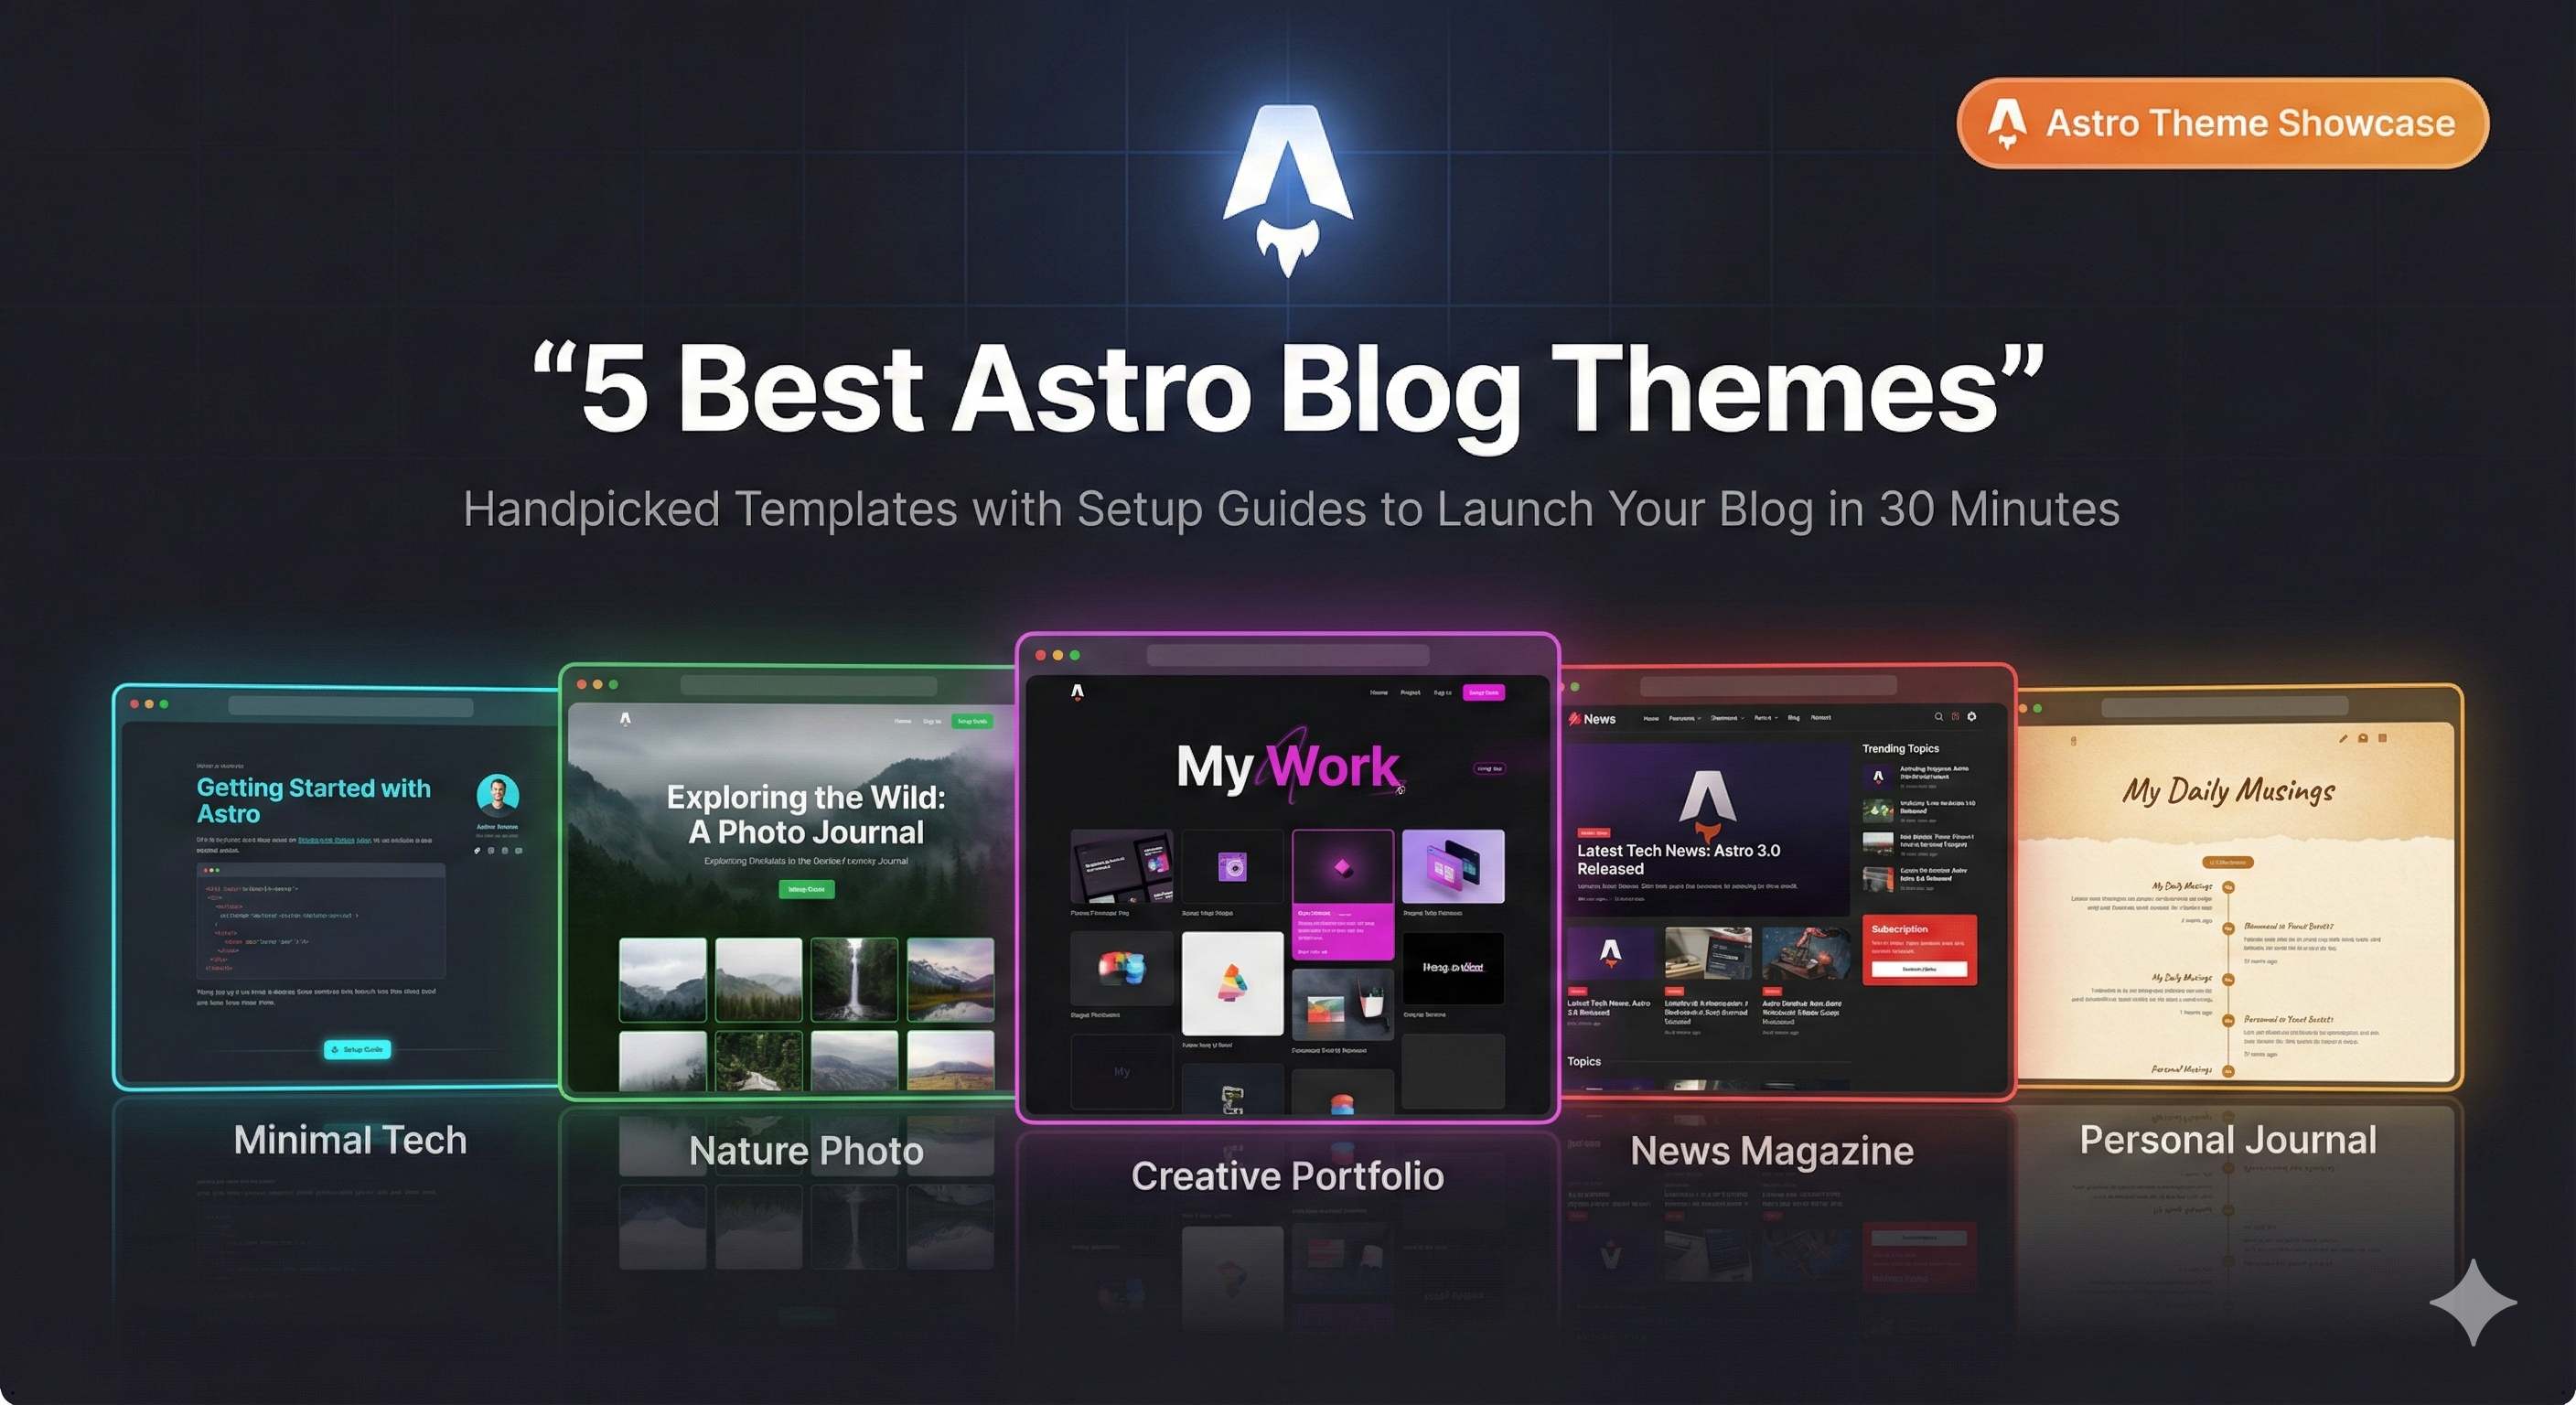
5 Best Astro Blog Theme Recommendations
Alright, here’s the main event. I’ll recommend 5 themes based on different needs, each one I’ve actually tried and confirmed to be good. Here’s a quick comparison table:
| Theme Name | Best For | Core Features | GitHub Stars | Difficulty |
|---|---|---|---|---|
| AstroPaper | Tech bloggers, long-form writing | Minimal design, fuzzy search | 3.5k+ | ⭐⭐ |
| Astro Air Blog | Personal bloggers, portfolios | Elegant animations, customizable | Active community | ⭐⭐ |
| Bookworm Light | Team blogs, content platforms | Multi-author support | Popular theme | ⭐⭐⭐ |
| AstroWind | Business blogs, quick launch | Out-of-the-box, feature-rich | Popular theme | ⭐ |
| Astro Cactus | Personal blogs, clean style | Opinionated, hassle-free | Active community | ⭐ |
AstroPaper - The Minimalist’s Choice
If you love clean designs like I do, AstroPaper is the top choice. This theme has 3.5k+ stars on GitHub and is currently one of the most popular Astro blog themes.
What really impressed me was the fuzzy search feature - just type in keywords and you can quickly find articles, with a super smooth experience. The draft functionality is also practical - articles you’re still working on won’t accidentally get published. The responsive design is excellent, looks perfect on mobile too. The light/dark mode switch is silky smooth and easy on the eyes.
Perfect for tech bloggers and those who enjoy long-form writing. If you mainly write tutorials or technical analysis, this theme lets readers focus on the content without getting distracted by flashy designs.
Core Features:
- Fuzzy search (genuinely useful)
- Draft functionality and pagination
- Auto-generated RSS and sitemap
- SEO and accessibility optimization
- Type-safe Markdown
Official Site: https://astro-paper.pages.dev/
Astro Air Blog - Elegant and Clean Personal Blog
Astro Air is another minimalist theme, but it emphasizes personal style more than AstroPaper. I particularly like its page loading animations - very smooth without being jarring.
This theme’s configuration file design is quite user-friendly. You can directly edit the about.mdx, intro.mdx, and links.mdx files to customize page content without hunting around for configuration options. The tag system is well-implemented too, perfect for content categorization.
If you want to create a personal portfolio blog or showcase your creative work, Astro Air is a solid choice. It feels more like “my personal space” than a “news site.”
Core Features:
- Minimalist elegant design
- Flexible custom pages (About, Intro, Links)
- Tag categorization system
- MDX support
- Social media sharing
GitHub Repo: https://github.com/sun0225SUN/astro-air
Bookworm Light - Multi-Author Blog Powerhouse
If you’re planning a team blog or content platform, Bookworm Light has the most comprehensive features I’ve tried. It natively supports a multi-author system - each article can show author information, and you can filter articles by author.
This theme’s customizability is incredible. Whether you’re building a food blog, photo sharing site, or travel diary, it adapts beautifully. Dark mode is supported too, with smooth transition effects.
I built a test site with it - the configuration process was simpler than expected, and the documentation was reasonably clear. The only thing to note is that with more features come more configuration options, so first-timers might need some time to get familiar.
Core Features:
- Multi-author support (key feature)
- Rich categorization and tagging system
- Highly customizable
- Dark mode
- Adaptable for various blog types (food, photography, travel, etc.)
Use Cases: Team blogs, content platforms, niche vertical blogs
AstroWind - The Most Feature-Complete Option
AstroWind suits the “I need a blog up and running fast” scenario. It’s built on Tailwind CSS, so if you’ve used Tailwind before, you’ll pick it up quickly. The biggest advantage of this theme is that it’s ready to use - many optimizations are already done for you, giving you naturally high PageSpeed scores.
Image optimization, auto RSS, social sharing - these features are all built-in, no need to add plugins yourself. It even supports RTL (right-to-left) languages, which is handy if your blog targets international audiences.
I think it’s better suited for business blogs or projects that need quick deployment, because it comes with everything you need - you just focus on writing content.
Core Features:
- Astro 4.0 + Tailwind CSS
- PageSpeed high-score optimization
- Built-in image optimization
- Auto RSS subscription
- RTL language support
- Dark mode
Use Cases: Business blogs, quick-launch projects, internationalization needs
Astro Cactus - Simple and Opinionated Choice
Astro Cactus is an “opinionated” theme, meaning it’s already made most design decisions for you - no need to agonize over color schemes or layouts. This is actually a blessing for those with decision paralysis.
It uses Astro 4.0 plus Tailwind CSS, with well-written code and good semantic HTML. If you want to do secondary development based on it, the code is quite readable.
This theme suits personal bloggers who want simplicity and don’t want to spend too much time on design. Ready to use right out of the box, hassle-free.
Core Features:
- Astro 4.0 + Tailwind CSS
- Semantic HTML markup
- SEO-friendly design
- Responsive layout
- Light/dark mode toggle
- Opinionated design (reduces decision fatigue)
Use Cases: Personal blogs, quick start, no fuss over design details
Detailed Installation Guide (Using AstroPaper as Example)
Now that we’ve covered the features, let’s see how to install. I’ll use AstroPaper as an example - the steps are similar for the other themes.
Step 1: Install the Theme
The easiest method is using a package manager. I recommend pnpm - it’s fast and saves disk space. npm or yarn work fine too.
# Using pnpm (recommended)
pnpm create astro@latest --template satnaing/astro-paper

# Or using npm
npm create astro@latest -- --template satnaing/astro-paper

# Or using yarn
yarn create astro --template satnaing/astro-paper
After running the command, it’ll ask for your project name - pick whatever you like. Then wait for it to install dependencies - takes about as long as grabbing a coffee.
If you use Docker, you can also do this:
docker build -t astropaper .
docker run -p 4321:80 astropaper
But honestly, unless your dev environment is particularly complex, you probably don’t need Docker.
Step 2: Start the Development Server
After installation, navigate to the project directory and start the development server:
# Install dependencies first (if not auto-installed earlier)
pnpm install

# Start the development server
pnpm run dev
Then open your browser and visit http://localhost:4321 - you’ll see your blog. Pretty quick, right?
Step 3: Core Configuration
The main configuration is in the src/config.ts file. Open it with your editor and you’ll see a SITE object that looks something like this:
export const SITE = {
  website: "https://yourdomain.com", // Required for production, can leave empty during development
  title: "Your Blog Name",
  desc: "Blog description - explain what your blog is about in one or two sentences",
  author: "Your Name",
  // Other configurations...
}
During development, you can leave website empty. Change it to your actual domain when you’re ready to deploy. This is important because it’s used to generate sitemaps and social sharing card URLs.
There’s also the astro.config.mjs file, which is Astro framework’s own configuration. The defaults are usually sufficient unless you need to add plugins or change ports.
Step 4: Create Your First Article
Articles go in the src/content/posts/ directory. Create a new Markdown file, like my-first-post.md, and add frontmatter:
---
title: "My First Article"
description: "Brief introduction about what this article covers"
pubDate: 2025-12-02
tags: ["Astro", "Blog"]
---

# Content Begins

Write your article content here using Markdown format.
Save the file, and the page will auto-refresh - you’ll see this article on the homepage. Simple, right?
A few things to note:
pubDateis required, format isYYYY-MM-DDtagsare optional, but recommended for categorizationogImagecan specify a cover image for social sharing, uses default if not provided
Modify Theme Colors (Optional)
If you want to change theme colors, check out the official color customization documentation. AstroPaper supports multiple color schemes and customization isn’t too complicated.
But to be honest, the default colors already look great - I haven’t changed mine much.
Common Issues and Solutions
Let me share some pitfalls I’ve encountered, hopefully you can avoid them.
Installation Issues
Issue 1: Error about missing sharp module after yarn install
This is a known issue with yarn 1. Simple fix - manually install sharp:
yarn add sharpRestart the development server after installation and you’re good.
Issue 2: Windows PowerShell diagnostic command errors
If you’re using Windows PowerShell, running astro check --watch & astro dev might throw errors. This is because PowerShell doesn’t support the & background syntax.
Solution is to install the concurrently package, or just run the two commands separately.
Issue 3: Port 4321 occupied
Sometimes the port is already taken by another program and startup fails. You can change the port in astro.config.mjs:
export default defineConfig({
  server: {
    port: 3000 // Change to your preferred port
  }
})
Configuration Issues
Issue 1: Config changes not taking effect
I’ve hit this several times. Remember to restart the development server after changing config files, otherwise changes won’t take effect. I spent half an hour troubleshooting before realizing I hadn’t restarted.
Quick tip: Ctrl+C to stop the server, then pnpm run dev again.
Issue 2: Images not displaying
Images need to go in the public folder, and reference them with paths like /image-name.jpg. Don’t forget that leading slash.
Alternatively, you can put images in src/assets and use relative paths in Markdown. Both approaches work - whichever you prefer.
Issue 3: Dark mode toggle bugs
If styles get messed up when switching between light and dark modes, check if you considered dark mode when customizing CSS. The theme color config file should have corresponding dark mode variables - remember to change both sets when modifying colors.
Deployment Issues
Issue 1: Deployment to Vercel or Netlify fails
Check that the build command is astro build and output directory is dist. Getting these wrong will definitely cause deployment failures.
Also confirm your Node.js version - Astro 4.0 requires Node 18+, too old a version will error out.
Issue 2: CSS styles missing after deployment
This is usually a base path configuration issue. If your blog isn’t deployed at the root (like yourdomain.com/blog/), you need to set base in astro.config.mjs:
export default defineConfig({
  base: '/blog'
})
Otherwise CSS and JS file paths won’t resolve correctly.
Advanced Customization Suggestions
After getting the basics down, you might want to add some personal touches. Here are a few directions.
Add a Comment System
Blogs with comment functionality are more interactive. I recommend using Giscus (based on GitHub Discussions) or Waline (lightweight independent comment system). Integration isn’t difficult - just follow the official docs.
Giscus’s advantage is it’s completely free, and data is stored on GitHub so no worries about loss. Waline has richer features, but you need to deploy your own server.
Add Visit Analytics
Want to know how many people visit your blog? Google Analytics is most common, but if you care about privacy, try Plausible or Umami - both are privacy-focused analytics tools.
Integration is simple - just add a tracking code snippet to your HTML template.
Optimize Image Loading
If your articles have lots of images, consider enabling lazy loading. Astro has built-in image optimization - use the <Image> component instead of regular <img> tags for automatic optimization.
You can also consider CDN acceleration by uploading images to services like Cloudinary or Cloudflare Images for faster loading.
Multi-Language Support
If your blog targets international audiences, you can add multi-language switching. Astro supports internationalization, and configuration isn’t too complicated. Just note that you’ll need to translate every article into multiple language versions, which significantly increases workload.
Conclusion
After all this, choosing a theme really boils down to your needs:
- Want minimalism and focused reading? Choose AstroPaper, its search and draft features are genuinely useful.
- Want to showcase personal style? Try Astro Air Blog, simple to configure and elegant.
- Building a team blog or content platform? Bookworm Light’s multi-author support is perfect for you.
- Need quick deployment? AstroWind is feature-complete and ready to use, hassle-free.
- Don’t want to fuss over design details? Astro Cactus has made the decisions for you, just grab and go.
My advice is to pick the theme closest to your needs and try it out. Once it’s running, tweak and adjust as you go to make it yours. Don’t chase perfection from the start - what matters most for a blog is the content, the theme is just icing on the cake.
You can have a blog up in 30 minutes, then spend the rest of the time writing your first article. If you hit issues don’t panic - check the docs, search GitHub Issues, most problems have solutions. If you’re really stuck, leave me a comment and I’ll try to help.
By the way, the Astro official theme library (https://astro.build/themes/) gets updated regularly with new themes. Bookmark it and check occasionally - you might discover something even better for you.
Alright, pick a theme now and give it a try!
Published on: Dec 2, 2025 · Modified on: Dec 4, 2025
Related Posts

Complete Guide to Deploying Astro on Cloudflare: SSR Configuration + 3x Speed Boost for China
Building an Astro Blog from Scratch: Complete Guide from Homepage to Deployment in 1 Hour